
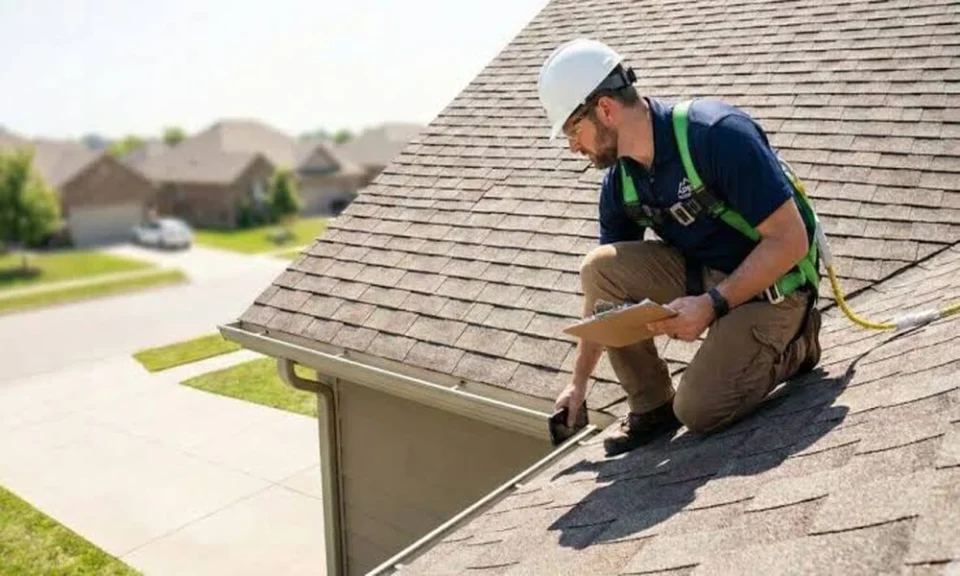
Most homeowners only think about their roof when water is already dripping into a bucket. By then, the damage has usually been spreading for months. The good news is that roofs rarely fail without warning. They drop hints in the yard, in the gutters, in the attic and on your ceilings, and you can read those hints yourself without climbing a ladder.
This four-stop walkthrough shows you how to read those signs. It also covers what to do once you find something, and how a company like Peak Roofing Construction can help you decide between repair, replacement and upgrade.
Stop 1: The Yard (Look Up, Don’t Climb Up)
Start outside with a pair of binoculars or just a zoom lens on your phone. Walk the full perimeter of the house and check:
- Curling or cupping shingles. Edges that lift or bend upward have lost their grip and their ability to shed water.
- Missing or cracked pieces. Even one gap can let water reach the underlayment.
- Dark streaks or moss. These point to trapped moisture or algae, and heavy moss can hold water against the roof surface.
- A sagging ridge line or dips in the roof plane. This can mean a structural or decking problem and deserves a professional look soon.
Never walk on a roof you aren’t trained to work on. Falls and damaged shingles are both easy ways to turn a small repair into a large one.
Stop 2: The Gutters and Flashing
Gutters tell a quiet story. Check them for:
- Granules. Asphalt shingles lose their protective surface over time. A heavy buildup of grit in the gutters or at the downspout exit is a sign of aging.
- Pulled-away gutters or overflow stains. Water that can’t drain properly backs up and rots fascia and soffit boards.
- Loose or rusted flashing. The metal around chimneys, vents, skylights and wall joints is one of the most common leak points on any roof. Gaps and sealant that has dried out and cracked are classic trouble spots.
Stop 3: The Attic (Your Roof’s Underside)
If you can safely reach your attic, spend ten minutes there. Bring a flashlight and look for:
- Daylight peeking through the roof boards. If you can see it, water can get in.
- Dark stains or wet spots on the wood. Trace them upslope to find the source.
- Damp or compressed insulation. Wet insulation loses much of its effectiveness.
- Musty odor or visible mold. This points to ongoing moisture or poor ventilation.
- Uneven temperatures. An attic that feels like an oven in summer suggests ventilation problems that also shorten a roof’s life.
Stop 4: The Ceilings and Walls Inside
The last stop is your living space. Brown or yellow stains, bubbling paint, peeling wallpaper and ceiling spots that seem to grow after rain are all signs of a leak. Don’t forget the corners of upstairs rooms and the areas around bathroom exhaust fans and light fixtures.
One tip: take a dated photo whenever you spot a stain. It helps you see whether the damage is spreading, and it gives a contractor or insurance adjuster useful history.
Reading the Results: Repair, Replace or Upgrade?
Once you’ve completed the walkthrough, you’ll likely land in one of three places:
| What you found | Likely path |
|---|---|
| A few damaged shingles or one leaking flashing joint | Repair |
| Widespread granule loss, curling, repeated leaks or aging near the end of the material’s lifespan | Replacement |
| A sound roof, but high cooling bills or an upcoming re-roof | Upgrade with better materials or a more reflective surface |
Repair is usually the sensible choice when damage is limited and the roof is otherwise healthy. Replacement makes more sense when you’re patching the same roof over and over. A professional inspection helps you tell the difference, so you don’t pay for a full replacement you don’t need, or keep paying for patches that won’t hold.
The Upgrade Option: Think About Heat
If you are replacing a roof, this is the moment to think about heat. The U.S. Department of Energy explains in its guide to cool roofs that a conventional roof can reach 150°F or more on a sunny summer afternoon, while a reflective roof under the same conditions can stay more than 50°F cooler. That can mean lower energy use in air-conditioned homes and more comfort in spaces without it.
A few points from that guidance are worth knowing before you decide:
- A cool roof doesn’t always cost more, especially when it’s part of a new installation or a planned replacement.
- Savings depend on your climate, insulation and cooling system. Hot climates benefit the most, and colder ones can see a winter heating penalty.
- Applying a coating to existing asphalt shingles is not recommended, because it can trap moisture and may void the manufacturer’s warranty.
Choose the material and color at the replacement stage, rather than trying to retrofit later.
How to Choose a Roofing Contractor You Can Trust
Roofing is a trade where promises are cheap and workmanship is everything. Before you sign, ask:
- Are they licensed, bonded and insured? Ask for proof, not just a verbal yes.
- Will they inspect before quoting? An estimate made without looking at the roof is a guess.
- Is the quote itemized? You should see materials, labor, underlayment, flashing and cleanup listed clearly.
- What warranty comes with the job? Ask about both materials and workmanship, and get it in writing.
- Can they show recent local work and references? Photos and past customers say more than a sales pitch.
- Will they help with insurance paperwork after a storm? This can ease a stressful process.
Be cautious of anyone who pressures you to sign on the spot or asks for full payment up front.
Make It a Habit
A quick walkthrough twice a year, ideally in spring and fall, takes under an hour and can save thousands. Add one after any major storm. If something looks off, don’t wait for it to become a leak. Call a roofing professional while the fix is still small.
Your roof is the part of your home that works hardest and gets noticed least. A little attention goes a long way.
