
Maintaining a wooden deck requires constant vigilance and timely action. Moisture and sunlight eventually damage even the strongest pressure treated lumber. These boards often crack or rot over time. This decay compromises the structural integrity of your outdoor space. A sagging board creates a serious tripping hazard for guests. You can restore the beauty of your deck quite easily. This process saves money compared to a full replacement. Obviously, you should gather the right tools before starting the work. Experts at www.decksforlife.ca suggest checking your frame for stability first. A simple repair project transforms the look of your home. It ensures safety for everyone using the deck.
Assessing the Extent of Board Damage
The first step involves a very thorough inspection. You must identify every soft spot in the wood. Sometimes, the damage hides beneath a layer of old stain. Poke the surface with a sharp screwdriver to find rot. Healthy wood feels solid and resists the metal tip. Damaged sections feel soft or spongy under slight pressure. As you know, water tends to collect around the nail heads. These areas usually show the earliest signs of decay. It is interesting that one bad board affects nearby pieces.
Preparing the Joists for New Lumber
The exposed joists require a very close look now. Check for any signs of surface rot or cracks. According to some, joist tape provides excellent moisture protection. Apply this waterproof tape along the top of each beam. It prevents water from sitting in the new screw holes. This simple addition doubles the life of your repairs. You should also sweep away any trapped debris or leaves. Clean joists ensure a perfectly level surface for the deck. It is interesting that dirt holds moisture against the wood. Dry conditions are essential for a long-lasting repair job. Ensure the frame feels solid and remains perfectly level.
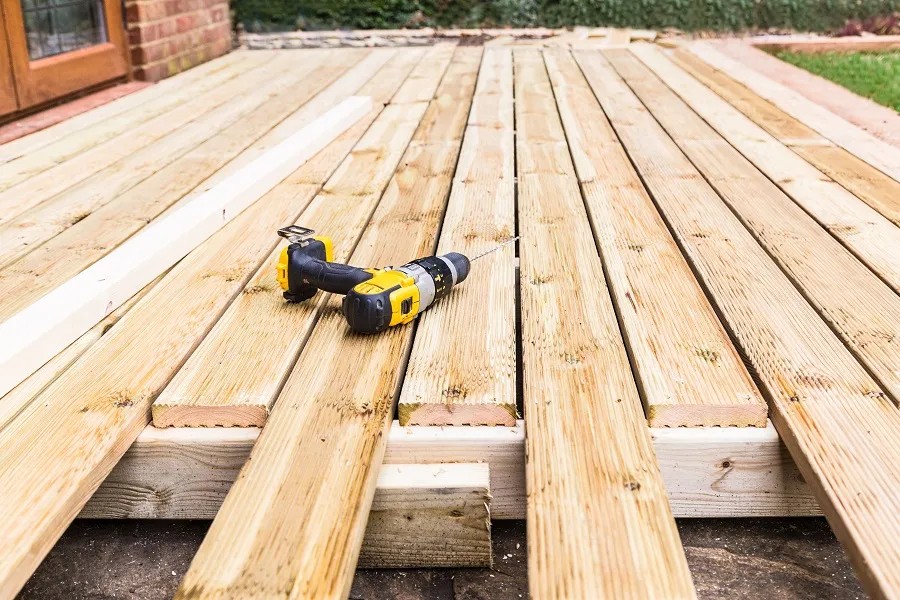
Installing the New Pressure Treated Wood
Choose replacement boards that match the existing wood thickness. Pressure treated lumber often comes with a high moisture content. It will shrink slightly as it dries in the sun. Place the new board into the empty space carefully. Leave a small gap for drainage between the long edges. Secure the board using high-quality stainless-steel screws. Drive two screws into every joist for maximum stability. Sink the heads just below the surface of the wood. This prevents people from catching their feet on the metal. The new boards will provide a very firm walking surface.
Finishing and Blending the Repaired Area
The new wood looks much brighter than the old deck. You need to blend the colors for a uniform look. Wait for the new lumber to dry out completely. This often takes several weeks of warm and dry weather. Regular maintenance keeps the entire deck looking brand new. You should check the screws again after one full month. Wood moves as it adjusts to the outdoor environment. Your deck is now safe and beautiful for many years.
Conclusion
Deck restoration is a rewarding weekend project. Simple solutions eliminate the need for expensive experts. Maintaining your outdoor oasis is possible. Home and financial investments are protected by regular upkeep. Safety remains the main goal of this technique. Enjoy the strength of your pressure-treated outdoor space.